How to Use a Self-Service Car Wash


Most people walk into a self-service bay, grab the wand, and start spraying then wonder why their car still looks half-clean twenty minutes later.
The fix isn’t more effort, it’s order. Tires and engine bay first, while everything’s still dry. Pre-soak while you’re waiting for a stall to open up. Then pressure wash top to bottom, never the reverse.
Get that sequence right and you’re looking at a wash that costs 50-75% less than a full-service tunnel, with results that hold up just as well.
If you want to see what you’d pay at a commercial wash for comparison, our Mister Car Wash pricing guide breaks down typical tunnel pricing.
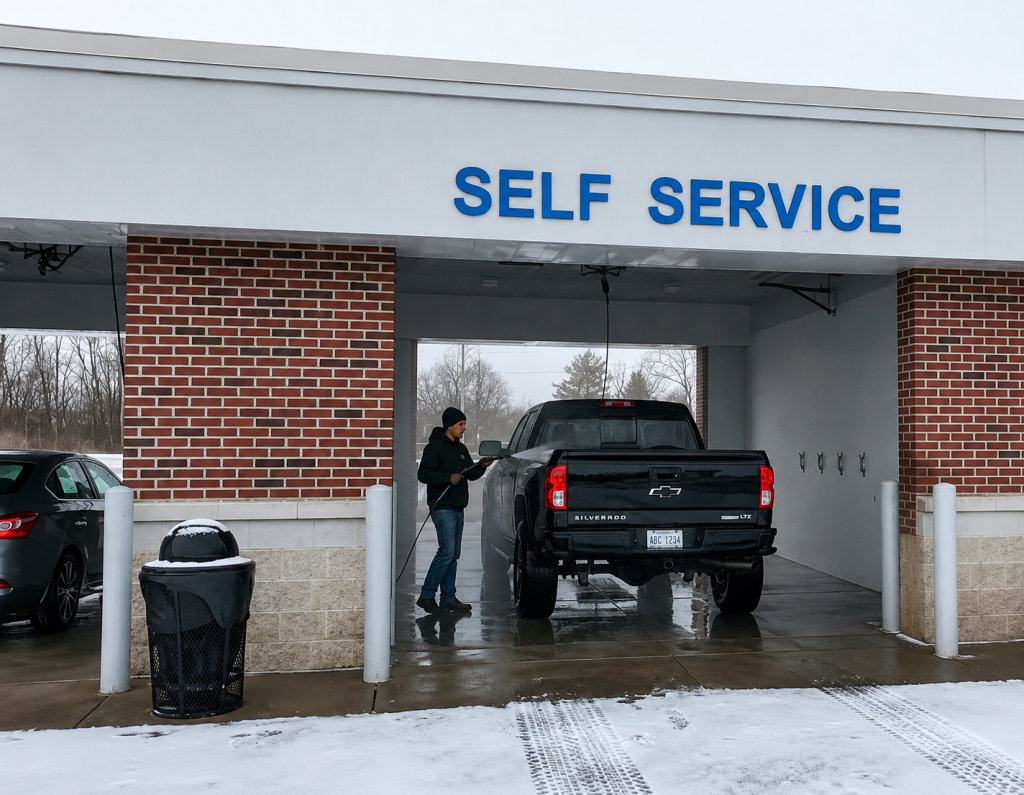
- Start with tire and engine cleaner on dry surfaces to prevent chemical dilution
- Pre-soaking reduces active wash time by 30-40%, cutting your bay costs significantly
- Budget $5-10 per wash in 2026 pricing to stay disciplined and avoid overspending
- A complete wash takes 12-16 minutes when you follow the correct sequence
Self-Service Wash Cost
Self-service bays don’t charge a flat rate they charge by time, and the meter starts the second you insert payment.
Most machines give you an initial block of 4-5 minutes for your starting fee, then let you add more in small increments as the timer counts down.
Coins and tokens still work at older locations, but most bays now take cards or app payments too.
Vacuums usually run on a separate meter from the wash wand, so budget for both if your interior needs work.
A quick rinse-only visit can come in under $5, but a full sequence pre-soak, pressure wash, undercarriage, final rinse typically lands in the $7-12 range depending on your local rates.
| Service | Cost |
|---|---|
| Starting Wash | $2–$4 |
| Additional Time | $0.50–$1.00/min |
| Quick Rinse | $3–$5 |
| Full Wash Sequence | $7–$12 |
| Vacuum | $1–$2 |

The Correct Wash Sequence
Most beginners start by rinsing the whole car first. That’s backwards, and it wastes both water pressure and money on areas that don’t need it yet. Here’s the order that actually works.
This is the actual order that professionals use.
Tires and engine, dry
Spray while everything’s still dry 2 minutes is enough. Water kills the chemical’s punch before it can cut through brake dust.
Foam pre-soak
Coat the body while you’re still waiting in line. Give it 3 minutes to loosen the grime before the wand touches anything.
Pressure wash, top to bottom
Five minutes, roof first. Skip this order and dirty runoff lands right back on the panels you already cleaned.
Don’t forget the undercarriage
Two minutes here saves you from rust later this is the step almost everyone skips.
Final rinse
Two minutes, every trace of soap gone. Use the spot-free option if the bay has one, or you’ll be wiping water spots off later.
Total time is 14 minutes. At average 2026 bay rates of $0.50 per minute, that’s about $7 for a complete wash.

Why Pre-Soaking Saves Money
Pre-soaking works because it starts breaking down dirt while you’re still standing in line, not once you’re already paying for wand time.
The chemical loosens grime on contact, so by the time you switch to pressure washing, half the job is already done.
That translates to a real drop in active spray time usually 30-40% less. A wash that would normally eat 7 minutes of pressure washing drops to 4-5 minutes once the dirt’s already loosened.
Bring a pump sprayer with pre-soak chemical from home if you can. Diluted dish soap works in a pinch, but it’s harder on wax and can clog the foam cannon a dedicated pre-soak product is worth the extra dollar.
Pressure Washer Setup and Controls
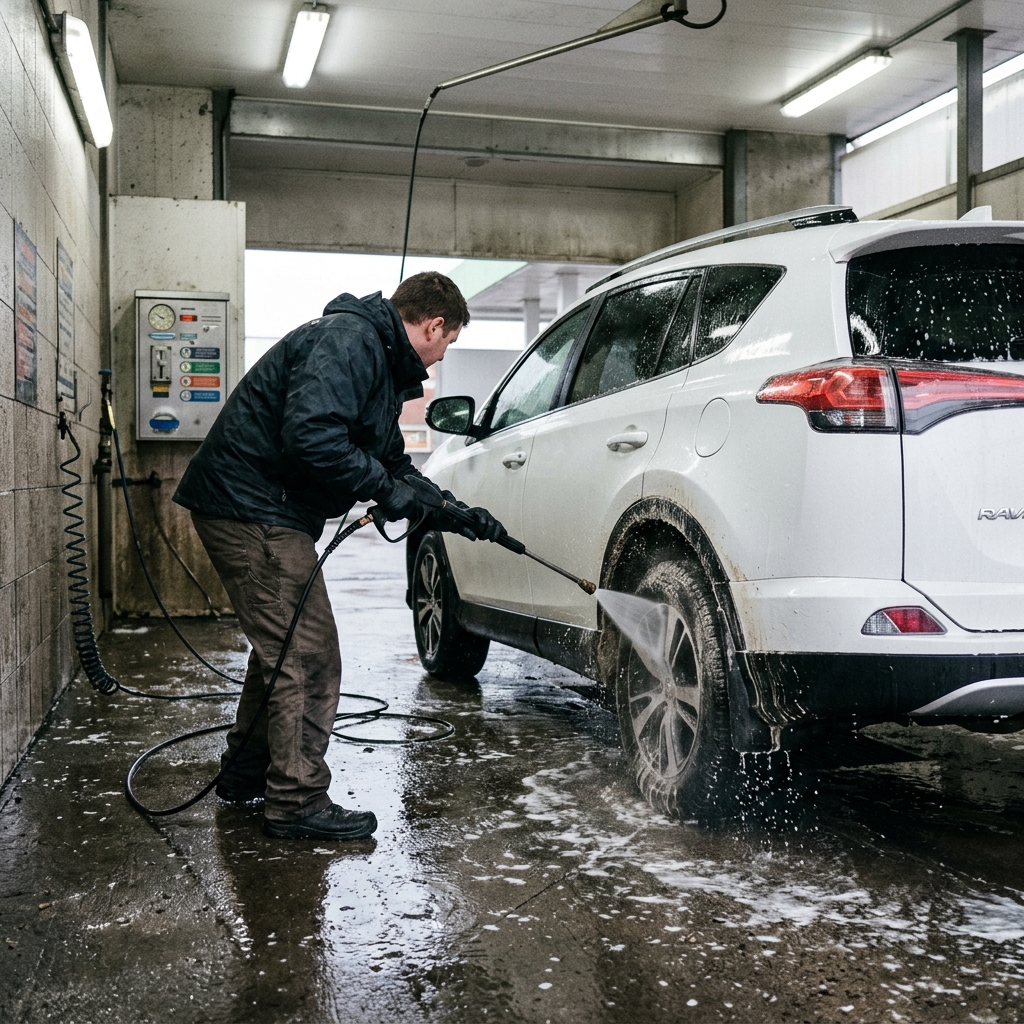
Most bays run on the same basic layout a dial for pressure low, medium, high and a separate button or lever to switch between modes like soap, rinse, and foam. Nothing on it requires guesswork once you know what each does.
Start low. If you’re washing at a new bay or don’t know how the machine behaves, test the trigger on an inconspicuous spot first a lower rocker panel works.
High pressure held too close can strip wax, peel loose trim, or dig into weak spots in the paint, so it pays to feel out the machine before you point it at anything you care about.
Insert your payment, set the dial to low, select soap or pre-soak mode, and you’re set. The wand has a trigger squeeze to spray, release to stop, that’s the whole interface.
If you’re looking for a self-serve bay that’s open late or around the clock, our guide on finding a 24-hour car wash near you covers search tips and what to verify before driving.
Vacuuming & Interior Cleanup
Most bays run the vacuum on a separate coin or card slot from the wash wand, so don’t assume your wash payment covers it.
Pull your car out of the wash bay and into a designated vacuum spot first running the vacuum inside an active wash bay just blocks the next person.
Clear loose trash and floor mats out before you start the timer; pulling mats out mid-vacuum wastes paid minutes.
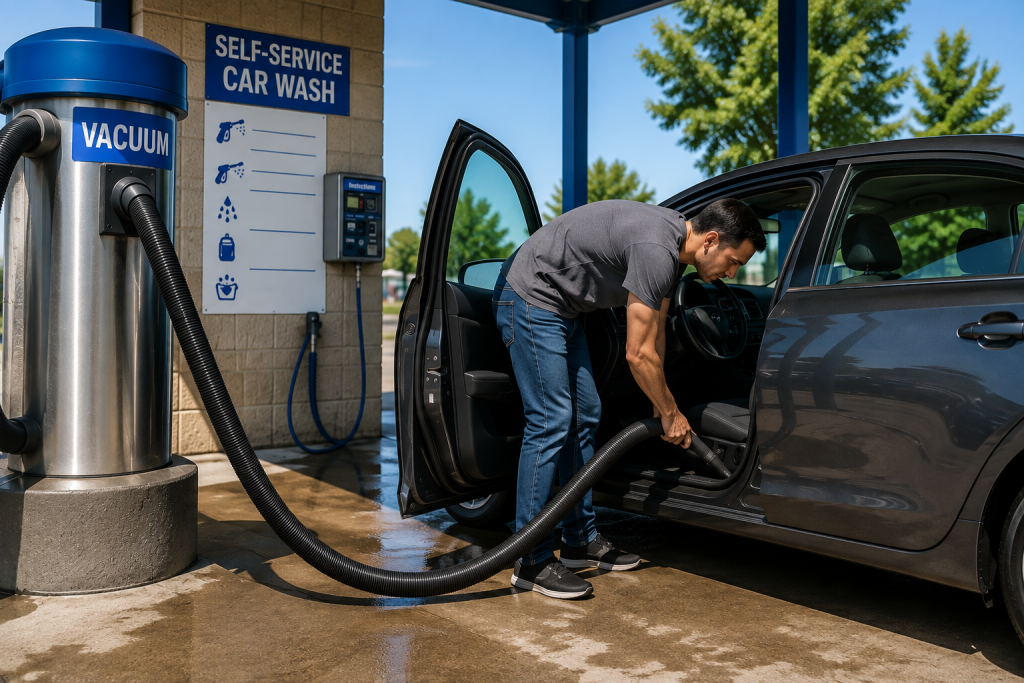
Work the hose into footwells, seat tracks, and door pockets, where most of the actual dirt hides. If the bay has a compressed air attachment, use it on vents and crevices the hose can’t reach.
Budget an extra 3-5 minutes and $1-2 for this skip it and you’ve only done half the job your visit was for.
The Hybrid Method
Professional detailers don’t just stop at the self-service bay. They use it for the heavy lifting, then finish at home with an ONR (Optimum No Rinse) wash for a streak-free, polished result.
Total cost lands around $7-10 bay wash plus ONR supplies against $30-50 for a full-service wash that won’t necessarily do a better job.
For a complete walkthrough of finishing at home, our guide to washing a car at home covers drying, polishing, and protection in detail.
ONR Wash Streak-Free Finishing at Home
After the bay wash, drive home and finish with ONR. Dilute it per the instructions, spray one panel section at a time, and wipe with a microfiber towel dirty side first, then flip to the clean side before moving to the next panel.
ONR lifts water spots and light dust without needing a rinse, and the whole process takes 5-10 minutes.
Most ONR formulas also leave a light wax or sealant behind, so you’re not just drying the car, you’re adding a thin layer of protection at the same time.

If water spots have already bonded to your paint before you get home, our guide on how to remove water spots from your car covers the correction process.
This is the step that fixes what a bay wash alone can’t the streaking and mineral spots that come from air-drying at the tunnel instead of wiping it down by hand.
Weather and Seasonal Adjustments
Summer heat works against you fast water spots form the moment beads start evaporating on hot metal, so aim for early morning or evening instead of midday.
If you do go midday, dry surfaces mean you can run full pressure without the same streaking risk you’d get on a already-wet, sun-baked panel.
Winter is a different problem lower pressure keeps water from freezing on contact, and the undercarriage needs extra attention since that’s where road salt sits and speeds up rust.
Dry the car immediately standing water in cold air is what leaves ice rings behind. Our guide to washing a car in winter covers heated bays and protective techniques if you’re dealing with regular freezing temps.
Rain and humidity change the pre-soak math. Dirt clings harder when everything’s already damp, so give the pre-soak extra time to actually cut through it, and budget more time for drying before you pull out.
Pollen season has its own rule stretch the pre-soak to 4-5 minutes since pollen is sticky and resists a quick rinse, and skip windy days entirely wind just reattaches everything you’re trying to wash off mid-wash.
Beginner Mistakes Not to do
- Starting with a full rinse wastes money and time since you should treat tires and engine first while dry.
- Inserting too much money upfront leads to overspending since you should start with $5-10 and add more if needed.
- Using maximum pressure on paint causes swirl marks and damage, so use medium pressure on body panels instead.
- Skipping the undercarriage is the most common mistake for vehicle longevity, especially in winter climates with road salt.
- Neglecting the final rinse allows soap residue to cause streaking and spots, so always end with clean water.
- Bringing incompatible products like thick waxes and ceramic coatings clogs foam cannons, so stick to pre-soak sprays and foam soaps.
- Rushing the pre-soak costs you money later because the chemical needs 2-3 minutes to work, and pressure washing takes longer without it.
Your First Wash Starts Now
You’ve got the sequence down. You know the timing. You understand how to manage your money. Your first self-service car wash will be faster and cheaper than you expected.
Bring a pump sprayer, microfiber towels, and $10. Follow the order of tires first, pre-soak, pressure wash, undercarriage, and final rinse. When you get home, finish with an ONR wash if you want that showroom shine.
You’ll save money, learn a useful skill, and your car will look better than most full-service washes. That’s the power of knowing what you’re doing.