The Two-Bucket Car Wash Method Steps

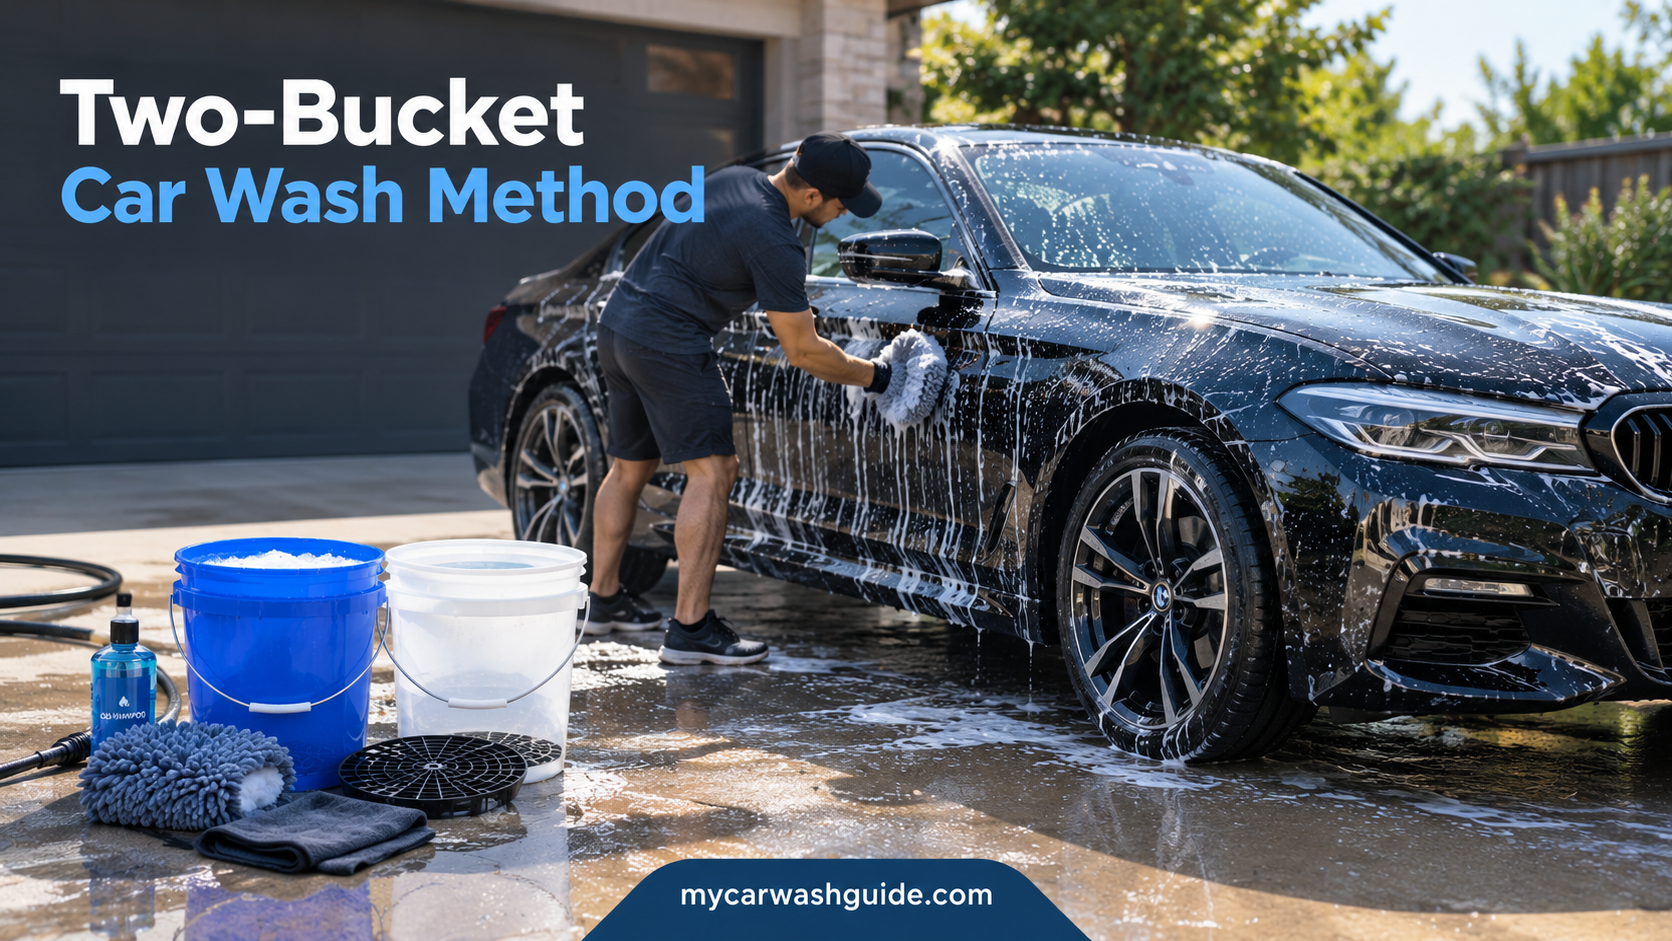
The two bucket car wash method uses one bucket of soapy water to wash and a second bucket of clean water to rinse your mitt, so the grit you lift off the car ends up in the rinse bucket instead of back on the paint.
That single separation is the whole point it keeps the wash water clean, and clean water is what stops the fine scratches that show up as swirl marks.
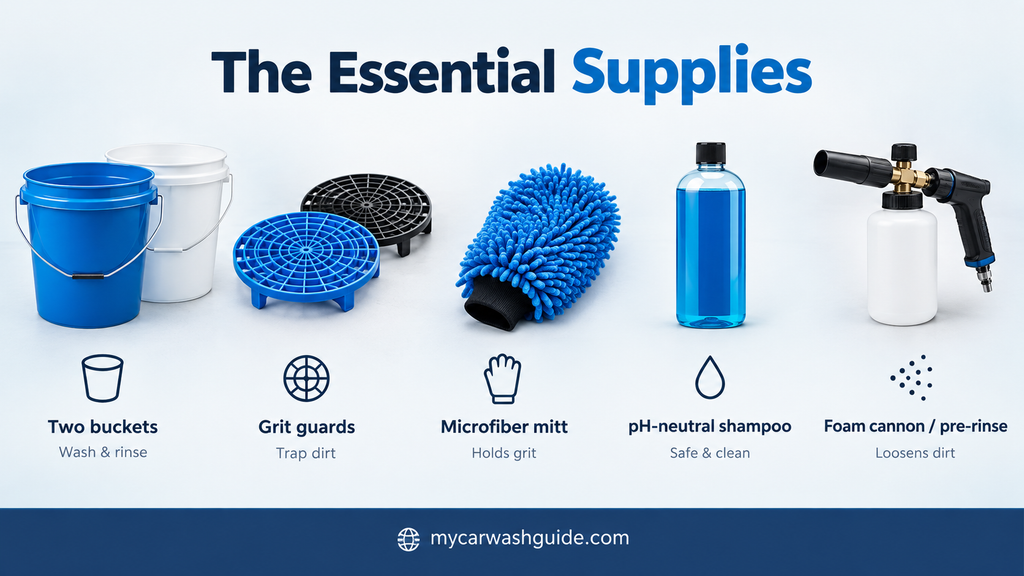
- Two buckets, a grit guard in each, a microfiber mitt, and pH-neutral shampoo.
- The grit guard matters more than an expensive mitt.
- Wash top to bottom, one panel at a time, in straight lines.
- It reduces swirl marks, it doesn’t erase existing ones.
Two-Bucket Method
It’s a hand-washing technique that splits one job across two buckets, a wash bucket and a rinse bucket, so your mitt gets cleaned between every panel.
A single-bucket wash does the opposite, dropping the dirt you just collected straight back into the soapy water.
By the third panel of a single-bucket wash, the water is a fine abrasive slurry and every pass grinds it into the clear coat.
That’s the exact problem the second bucket breaks you rinse the dirty mitt in clean water first, so the grit drops to the bottom there and never rides back to the paint.
Most two-bucket setups also use a grit guard, a plastic insert at the bottom of each bucket, so the grit settles below it instead of getting stirred back up when you dip the mitt.
If you want the full routine from wheels to wax, the complete at-home car wash walkthrough covers the whole process, and this page zooms in on the wash step that does the most damage when done wrong.
The Essential Supplies
Five items carry the whole method, and only three of them are worth spending on.
The two buckets can be anything that holds water, though two 5-gallon buckets are the standard size for this method.
| Item | Rough Cost |
|---|---|
| Two buckets | $5–$10 each, or free |
| Grit guards | $8–$12 each |
| Microfiber wash mitt | $8–$20 |
| pH-neutral car shampoo | $10–$20 |
| Foam cannon or pre-rinse | $0–$40 |
Here’s where I’ll disagree with most gear lists a $10 grit guard does more for your paint than a $20 mitt over a $10 one.
Spend on the guards, buy a mid-range mitt, and don’t let a premium shampoo talk you out of pH-neutral, which is the only shampoo spec that actually matters.
A pre-rinse costs nothing if you have a hose, and it’s the highest-value optional step here. A foam cannon is a genuine upgrade but a want, not a need.
Two-Bucket Wash Steps
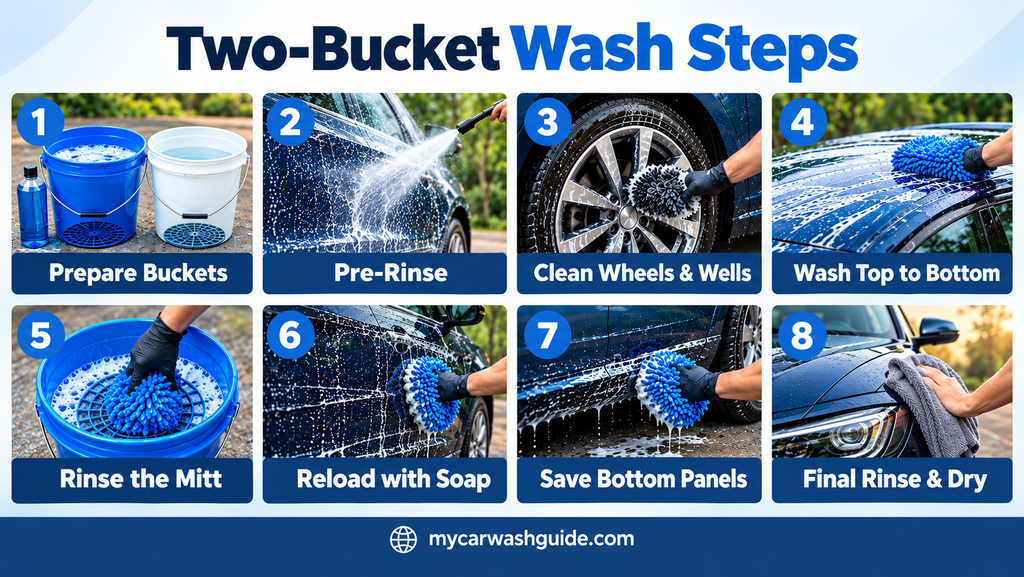
Work top to bottom, one panel at a time, and rinse the mitt in the clean bucket after every single panel. That last habit is the method.
- Fill the rinse bucket with plain water and the wash bucket with water plus shampoo at the label’s dilution, a grit guard in the bottom of each.
- Pre-rinse the whole car top to bottom with a hose to blast off loose grit before anything touches the paint.
- Wash the wheels and wheel wells first with a separate mitt, since brake dust and road tar are far more abrasive than body grime.
- Load the clean mitt in the wash bucket and start at the roof, wiping in straight overlapping lines, never circles.
- After each panel, dunk the mitt in the rinse bucket and scrub it against the grit guard to shed the dirt, then wring it out.
- Reload the clean mitt with soap from the wash bucket and move to the next panel, working downward.
- Save the lowest panels, rockers, and bumpers for last, because they hold the most grit.
- Final-rinse the whole car, then dry it with a clean microfiber or waffle-weave towel right away, before the water flashes off in the sun.
Straight lines aren’t a fussy detail. If a stray particle does mar the paint, a straight-line pass leaves a scratch you can polish out in one direction.
A circular motion grinds that same particle in every direction, which is exactly how swirl marks form.
Why the Grit Guard Matters
The second bucket separates dirty water from clean water, but the grit guard is what keeps the dirt down there.
Without one, you stir the settled grit back up every time you dip the mitt, and the rinse bucket becomes a second source of contamination.
A grit guard is a plastic grate that sits in the bottom of the bucket.
Scrubbing the mitt across its vanes knocks grit loose, and the raised design traps that grit below so it doesn’t recirculate into the water you’re about to reuse.
Ideally both buckets get a guard, but if you only own one, put it in the rinse bucket, where the shedding happens.
Dump the rinse bucket if you see a thick layer building up under the grate before you finish the car, plain water is cheap, a scratched panel isn’t.
Tip it out at the end and you’ll see a layer of black grit under the grate that would otherwise have gone back on your car.
If you want to see the full wash routine this step fits into, check out the complete at-home car wash walkthrough.
Mistakes That Ruin It
Three habits ruin the result more often than skipping a bucket ever does, and none of them cost money to fix.
Drop the mitt on the ground and keep going without a thorough rinse, and you’ve picked up driveway grit that writes scratches across a panel you already cleaned.
Wash lower panels before upper ones, and you load the mitt with the coarsest grit first, then drag it across paint that was cleaner a minute ago.
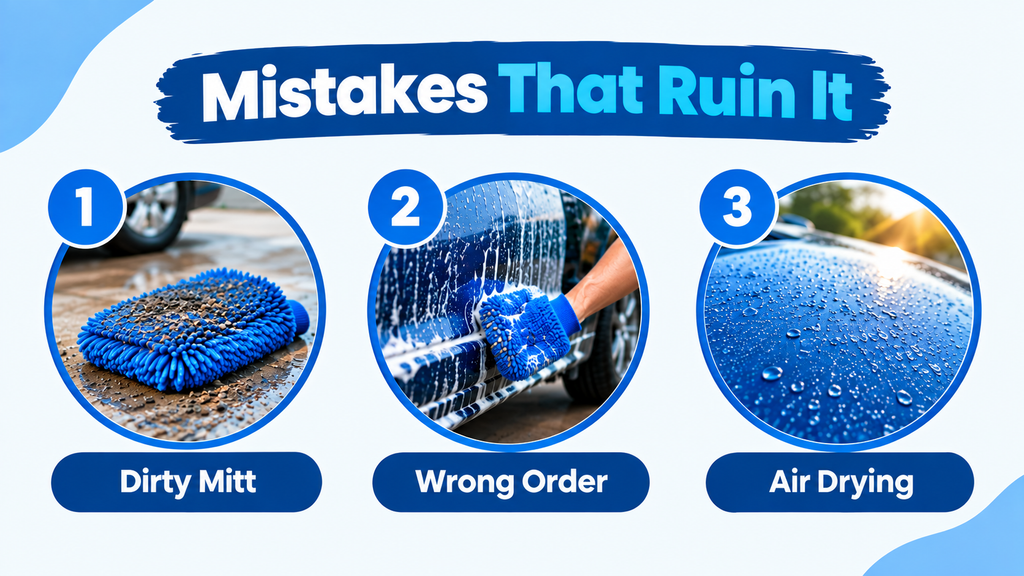
The one that wrecks the most paint is letting the car air-dry between the final rinse and the towel.
Mineral-heavy water flashes off and leaves spots bonded to the clear coat. Dry immediately, panel by panel, with a clean towel, before the sun does it for you.
When Two Buckets Is Overkill
If your car is lightly dusty and washed every week, a careful single-bucket wash with a grit guard and water changes every two or three panels is fine.
A rinseless wash, one where a waterless cleaner replaces the bucket entirely, works even better for that kind of light maintenance clean.
The two-bucket method earns its keep on a genuinely dirty car.
The dirtier the car and the darker the paint, the more the second bucket pays off.
On a black car, where every micro-scratch shows, I’d run two buckets every time, and the no-swirl routine for black paint treats this as non-negotiable.
On a light silver commuter that sees a wash every few days, the marginal gain is small. Use your judgment, and don’t let anyone guilt you into a full detailing ritual for a five-minute maintenance rinse.
Scratch-Free Drying
All the care in the wash is wasted if you drag a dirty towel across the paint to dry it.
Use a clean, plush microfiber drying towel or a dedicated blower, and never the same towel you used last week without washing it.
Blot and pull the towel rather than scrubbing, and work top to bottom the same way you washed.
A drying aid or quick-detailer spray adds lubrication so the towel glides instead of grabbing.
Drying is where a swirl-free wash most often falls apart, so it’s worth doing deliberately. The safest drying methods ranked go deeper on towels versus blowers and which one suits your setup.