How to Wash a Car at Home Complete Guide


Washing your car at home doesn’t take professional equipment or years of experience. It takes the right technique, the right tools, and knowing why each step matters.
The gap between a mediocre wash and a pro-level one comes down to a handful of decisions which products you use, how you move the mitt, and the order you work in.
Get the sequence right and you avoid the swirl marks and streaks that most home washes end up with.
Skip a step, or do them out of order, and you’re just rearranging dirt across the paint instead of removing it.
- Use grit guards with the two-bucket method to keep dirt from washing back onto your mitt.
- Wash in side-to-side motions only since circular motions create visible swirl marks on clear coat.
- Microfiber wash mitts are non-negotiable because they reduce friction and prevent scratches.

Assess Your Paint Before Washing
Before you touch your car with a mitt, spend two minutes diagnosing your paint’s current condition.
This determines whether you need a standard wash or pre-treatment first. Run your hand gently over the paint in sunlight and feel for swirl marks, rough texture, or contamination.
Look for visible issues too oxidation shows up as a dull, chalky finish water spots leave white mineral deposits and tree sap, tar, or bird droppings are usually obvious on sight.
Heavy contamination like this needs a clay bar treatment or detailing spray before the main wash not during it.
If water spots are already an issue, our guide on removing water spots from your car covers both household and commercial removal methods.
If your paint feels smooth and looks clean in direct sunlight, a standard two-bucket wash is all you need. If it feels gritty or sticky, a clay bar pre-treatment $8 to $15 will remove the embedded contaminants a normal wash can’t touch.
One more thing worth checking fresh ceramic-coated paint needs gentler technique than older single-stage paint, which can handle more aggressive scrubbing without damage.
If you drive a dark vehicle where imperfections show more, our guide on how to wash a black car covers contact-free methods that protect dark finishes.
Washing Sequence
Order matters. Gravity pulls dirty water downward, so washing high to ow keeps already cleaned areas from getting re-contaminated. Here’s the sequence, in order.
- Roof
- Hood
- Windshield and glass
- Driver’s side
- Passenger’s side
- Undercarriage trim
- Wheels and tires
Within each section, use side to side or vertical motions only never circular.
Circular motions are what create visible swirl marks on clear coat, and it’s the single most common beginner mistake.

Apply gentle, consistent pressure with the mitt you’re guiding soapy water across the paint, not scrubbing it. Work in overlapping sections about 12 to 18 inches wide so nothing gets missed.
Rinse each section immediately after washing it, before moving to the next. Soap left to dry on the paint leaves residue and water spots behind.
Always Wash Wheels Last
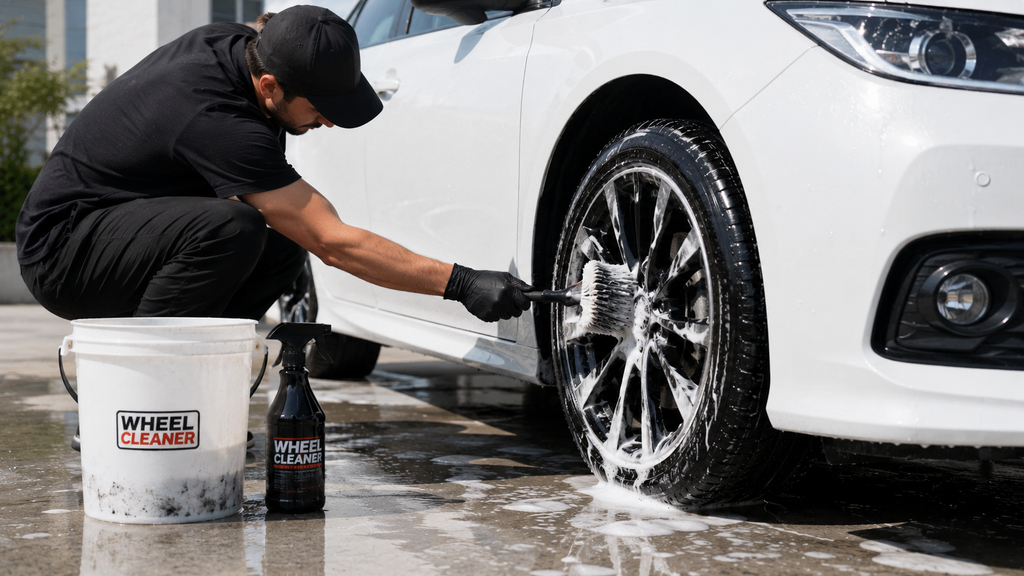
Wheels carry the most contamination on the car brake dust, dirt, grime. Wash them first and that dirty water splashes straight onto the clean body panels you just finished.
Use a separate bucket or a dedicated wheel brush, never the same mitt you used on the body. Wheel cleaner in the $12 to $18 range handles brake dust that plain soap won’t touch on its own.
This is also the one spot on the car where aggressive scrubbing is fine wheels can take pressure that would swirl paint anywhere else.
Drying and Finishing to Prevent Water Spots
Most guides skip drying, but this step is what separates a good wash from a pro-level one. Mineral-rich water left sitting on paint creates permanent water spots, especially in hard-water areas.
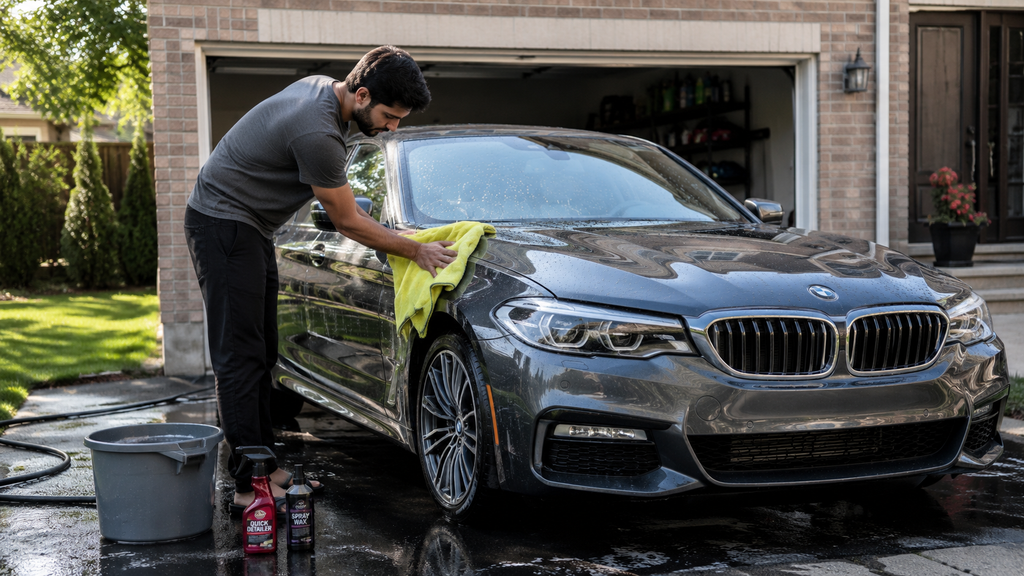
Microfiber drying towels $15 to $30 are the premium option they absorb water fast without leaving streaks.
Blot gently rather than rub, and work top to bottom so drips don’t land on sections you’ve already dried. For a full breakdown of drying tools and technique, our guide to drying a car after washing covers blowers, towel selection, and drying aids.
Chamois cloth $5 to $12 is the budget option less absorbent than microfiber, but still effective.
A quick detailer spray $15 to $25, used section by section as you dry, adds shine and helps prevent spots from forming.
Once the car is dry, wax or sealant locks in the protection and extends the gap between washes. Our guide to waxing a car by hand covers product selection and technique.
Seven Mistakes That Damage Your Paint
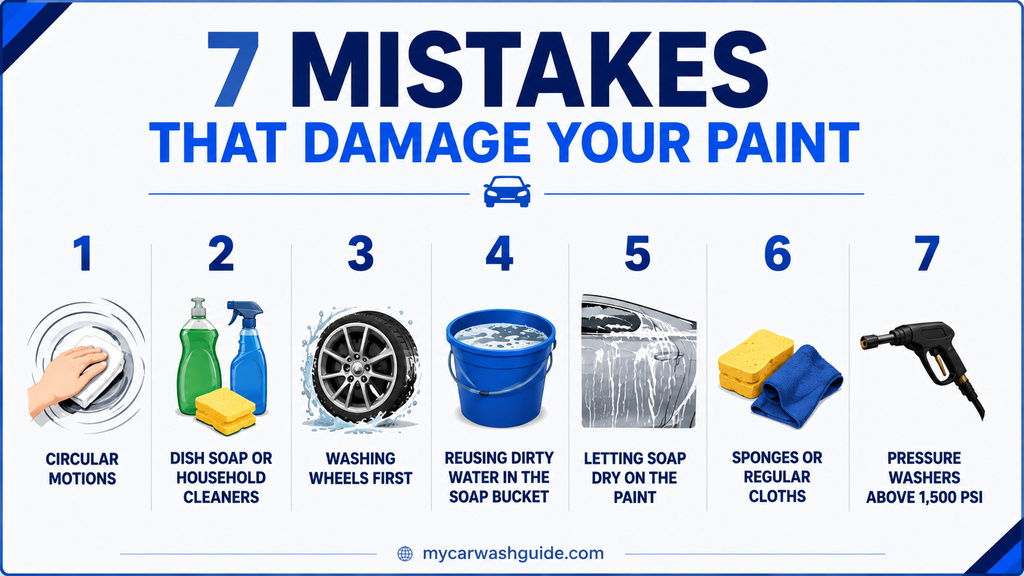
- Circular motions they concentrate pressure in one spot instead of spreading it that’s what causes swirl marks in sunlight.
- Dish soap or household cleaners both strip wax and coatings. Stick to pH-balanced car wash soap.
- Washing wheels first contaminated water splashes onto panels you already cleaned wheels always go last. Reusing dirty water in the soap bucket defeats the point of the two-bucket method entirely.
- Letting soap dry on the paint causes water spots and residue. Rinse each section right after washing it. Sponges or regular cloths instead of microfiber more friction, more micro-scratches.
- Pressure washers above 1,500 PSI strong enough to damage clear coat keep it lower, or skip the pressure washer for an at-home wash.
Adapt Your Wash for Climate and Season
Cold climates mean road salt, and road salt corrodes paint fast. Wash every 1 to 2 weeks through the season, or lean on a self-service wand wash for heavy buildup at-home methods still work, they just need extra rinsing.
For a deeper look at safe winter technique, our guide to washing a car in winter covers temperature rules, drying timelines, and undercarriage flushing.
Hot climates bring a different problem tar and bugs bond to paint fast.
Use a dedicated tar remover before the main wash, and treat UV protection from wax as non-negotiable during these months, not optional.
Spring pollen calls for a pre-rinse before you even start washing, plus quick detailer between full washes to keep the shine without a full redo.
Fall brings tree sap and leaf debris if contamination is heavy, a clay bar pre-treatment beats trying to wash it off directly.
As for frequency moderate climates are fine with a monthly wash. Harsh conditions salt, pollen, heat push that to every 1 to 2 weeks.
Light-use vehicles in clean areas can stretch to every 4 to 6 weeks. Our guide on how often you should wash your car covers the full picture for every driving situation and climate.
Your Next Wash
You know the process now the two-bucket method, side-to-side motions, microfiber mitts, and proper drying those four pillars are what separate a clean-looking wash from one that actually protects the paint.
Skip any of them and swirl marks or water spots show up eventually. Stick to them and the car looks showroom-fresh every time.
If you’re starting from zero, a $20 to $30 basic kit pays for itself on the first wash compared to professional detailing at $100 to $200.
Once you see the difference technique makes, it’s clear the process matters more than the price tag on the products.
Frequently Asked Questions
Is it safe to wash the engine bay myself?
Yes, but avoid direct high-pressure spray on the alternator, battery, and electrical connectors.
Should I wash my car right after driving?
Wait until the engine and brakes cool down washing hot components can crack them from thermal shock.
What is the best water temperature
Lukewarm at 70-90°F is optimal for soap effectiveness and paint safety. Avoid hot water as it can damage ceramic coatings or wax.
How long does a pro wash take
45-90 minutes for a standard sedan. Larger vehicles like SUVs and trucks require 90-120 minutes depending on paint condition and contamination.